Steps to export Office 365 mailboxes to PST using eDiscovery
Original Article - https://www.codetwo.com/admins-blog/how-to-export-office-365-mailboxes-to-pst-using-ediscovery
After logging in to your Office 365 portal, access the Microsoft 365 admin center as shown in the below image.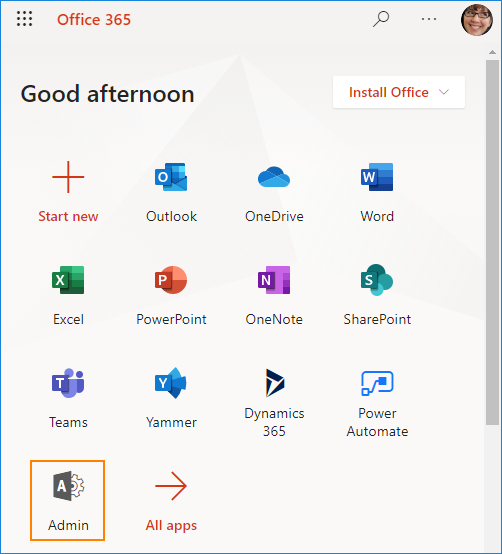
In your Microsoft 365 admin center, expand Admin centers and click Security.

In your Security & Compliance center, go to Permissions and edit eDiscovery Manager role group.
This and the next step are necessary because you need to be a member of the eDiscovery Manager role group to be able to use eDiscovery features.

In the eDiscovery Manager role group properties window, add your account to the eDiscovery Administrator list using the Edit button and following a simple creator.
The role group normally has the following roles assigned: Case Management, Compliance Search, Export, Hold, Preview, Review and RMS Decrypt. In some cases, the Export role is missing. If that is the case, make sure you add it by clicking the Edit role group button.

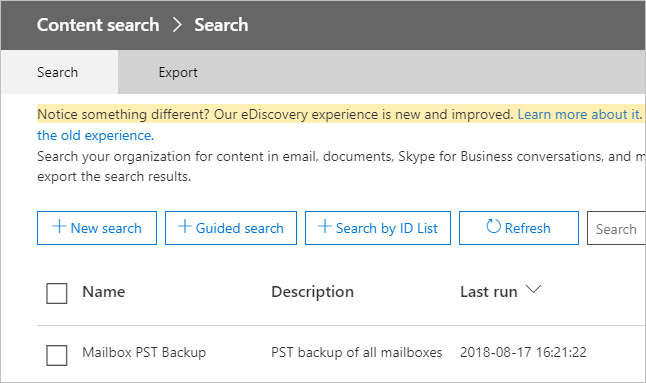
Now go to Search > Content Search.

Important note: If you are missing the Content search
option, it is most likely related to the eDiscovery permissions you set
in the previous steps. Changes in the eDiscovery permissions might take
even up to 24 hours to apply. 24 hours after you set the permissions
(or less, in my case it happens almost instantly) the tool should work
just fine. The issue with permissions might also result in the lack of
the export/download option later on.
In the new window, click New Search.
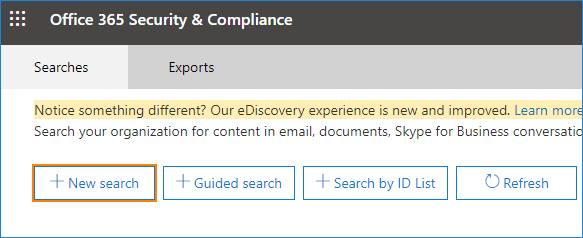
This
window has experienced a few layout updates since the introduction of
eDiscovery searches. However, the way it functions is similar. The
search window lets you specify which mailbox data you wish to export.
Mind that ticking All locations will cause the tool to
search through your SharePoint online and Public Folders database, which
might take a long while. If you want to export data from all mailboxes,
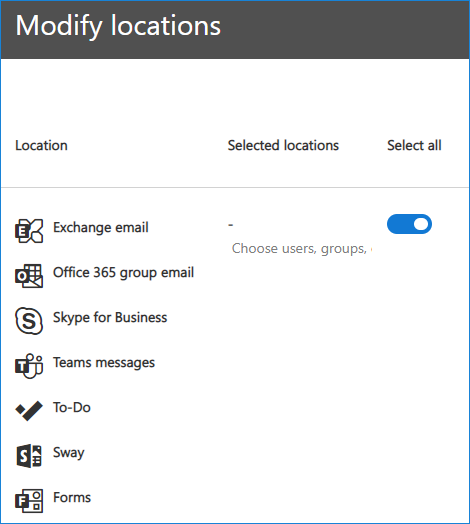
select Specific locations and Modify.

In this window, choose Exchange email or select specific mailboxes using the Choose users, groups option. Additionally, you can enable exporting from SharePoint (again the whole database, or specific sites) and Public folders by checking the Exchange public folders option (in the Public folders section at the bottom of the window)
Apart from the location filter, the search option gives you several filtering options:
- keywords/phrases (separated by logical operators: AND, OR, NEAR, NOT, etc.)
- time ranges
- From/To/CC/BCC fields
- message types (which can be defined in the window that opens when you click the select message types… button).
- and many more. You can check those options by clicking the Add conditions button in the search window.

If you want to export all mailbox data, just do not add any conditions or keywords. Click Save and run and you will be prompted to enter a name of the search and its description:
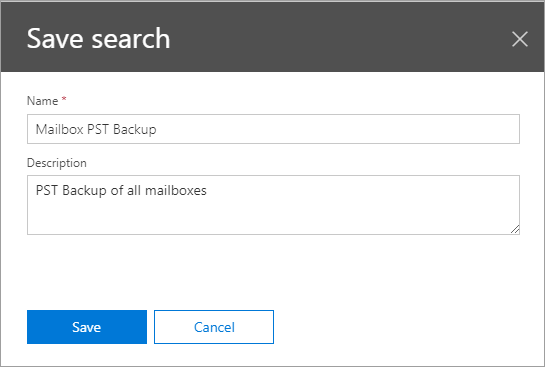
After clicking Save, the wizard will perform the search in the background. Now go back to the Content Search window, hit Refresh and choose your search.
In the window that pops up, you can see if the search has been completed and the details concerning its result. Click Export results.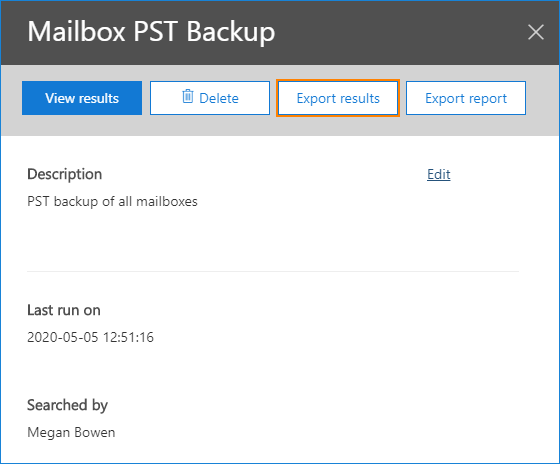
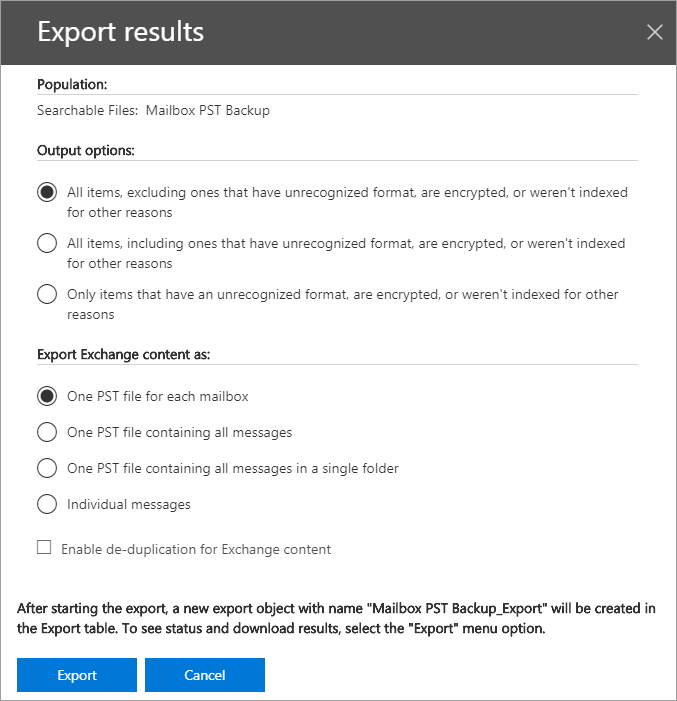
In
this window, you can choose if you want to include encrypted files. You
can also decide how to export the Exchange content. I find the default
options to be the most reasonable for a backup – each mailbox has a
separate PST file, which makes recovery a bit easier if necessary. Do not check the Enable deduplication option, unless you want the search results to be exported to a single PST file. For more on unsearchable items see this Microsoft article.
When you are finished, click Export at the bottom of the window.
The wizard starts to export data. Go to the Export tab and choose your search again to see its progress.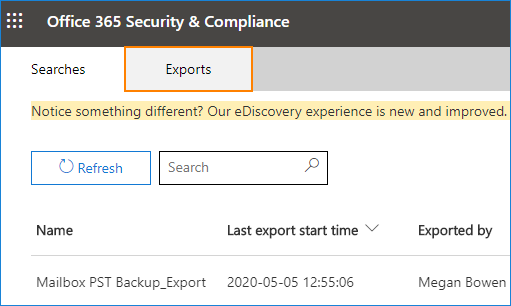
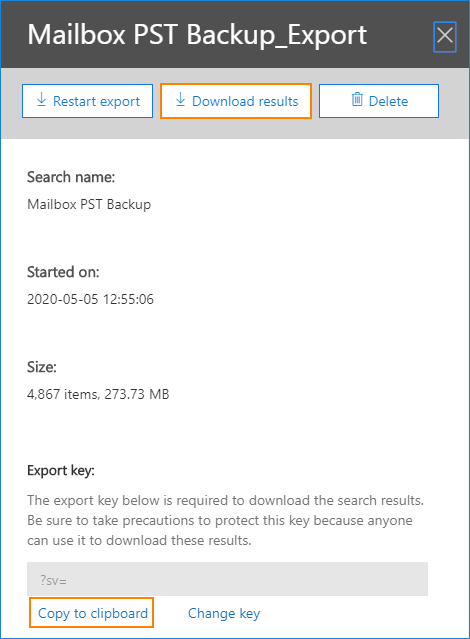
You can either wait for the task to finish or click Download results right
away. If you start to download the results before the export is
completed, the download and export tools should finish at the same
time. Another important part of this window is the special export key. Remember to copy it, as it will be required in the ClickOnce application that will start in the next step
A ClickOnce application called eDiscovery PST Export Tool
will start. Paste the export key copied in the previous step. Next,
point the Export tool to a folder where you want to save the PST files.

After you click Start, the tool will begin the export. When it completes, close the application.
No comments:
Post a Comment